
tl;dr Quick and simple node server to proxy requests to the Square API from a Ionic frontend
Background
I’m working with one of the students at the Midland University Code Academy to develop a mobile order PWA for a local coffeeshop. The student is using Ionic 4 with Angular to build the UI. We ran into a snag yesterday though: v2 of the Square API is not accessible from client side code. Since the student is working on a timeline for the project, I offered to help me figure out a way to make his client side API calls work.
Accessing Square data from client-side code
Since the client side code can’t access the API, the requests need to be made from a server. The easiest solution for this project was to set up a simple NodeJS Express API that simply takes requests from the app, fetches data from Square, and sends the data back to the app.
First, we started by creating a new project folder and initializing an NPM project.
mkdir coffee-order-proxy
cd coffee-order-proxy
npm init
After NPM is set up, we installed a few packages: express to handle the bulk of routing and sending responses, nodemon to autoreload the server while developing, express-basic-auth to add a little extra security to the proxy, and square-connect which is the offical Node SDK for Square.
npm install --save express express-basic-auth nodemon square-connect
We added a quick script entry in our package.json to run the server with nodemon.
{
  ...
  "scripts": {
    "start": "nodemon index.js"
  },
  ...
}
We also init’d a git repo, setup a remote git server (github) and added a .gitignore file to make sure our node_modules directory wasn’t checked into git.
git init
git remote add origin [github_repo_url]
echo "node_modules/" >> .gitignore
Now we’re ready to work on our (super) simple server.
The server
Our file started off looking like this:
  const express = require('express');
  const app = express();
  const port = 8000;

  app.listen(PORT, () => {
    console.log('We are live on ' + port);
  });

  app.get('/', (req, res, next) => {
    res.send('Hello world.');
  });
When we ran npm run start, we would be able to see “Hello World” at localhost:8000. Woot! Simple express sever: running.
Next is adding the Square specific code. We need to import a few more packages and do some config.
  const express = require('express');
  const app = express();
  const port = 8000;

  var defaultClient = SquareConnect.ApiClient.instance;
  var oauth2 = defaultClient.authentications['oauth2'];
  oauth2.accessToken = "SQUARE_API_KEY_GOES_HERE";

  // this is just one of the endpoints the SDK offers us
  var square_api = new SquareConnect.LocationsApi();

  ...
After we have the Square SDK configured, we needed to add a route to the API that would make a request for us.
  app.get("/getData", (req, res, next) => {

    square_api.listLocations().then(function (data) {

      console.log('API called successfully. Returned data: ' + JSON.stringify(data));
      res.json(data);

    }, function (error) {
      console.error(error);
    });

  });
Huzzah! If we visited localhost:8000/getData the API request would be made from the node server and the data returned to us.
Security (?)
Now, we need to lock things down a bit. Having a publicly available API endpoint making requests to Square is probably not a great idea. So we’re going to do two things:
1) add basic auth to the endpoint so no randos can make these API calls and 2) make sure of Heroku’s environment variables to remove sensitive data in our file
Basic Auth
We’re going to use that express-basic-auth package we installed earlier. Add this code directly below your imports in index.js.
  const basicAuth = require('express-basic-auth')

  app.use(basicAuth({
    users: {
      'username': 'password'
    },
    unauthorizedResponse: getUnauthorizedResponse
  }))

  function getUnauthorizedResponse(req) {
    return req.auth
      ? ('Obviously ' + req.auth.user + ':' + req.auth.password + ' isn\'t cool enough to access this info. Loser.')
      : 'Dude, you didn\'t provide the correct digits.'
  }
This package allows us to specify username/password pairs in the code and will only allow successful requests if the proper Authorization headers are present. (Authorization headers look something like this: Authorization: Basic abcdefghijklmnopqrstuvwxyz. The long string after the word basic is a base64 encoded string matching this pattern: username:password.)
Great! Now randos can’t access our endpoints unless they explicitly know the right username and passwords.
Credentials in the code
Keeping any type of credential in your code is generally bad practice. Keeping credentials (passwords, api keys, etc) in separate config files or encrypted config files that are not tracked by source code control is important.
We’re going to upload the node server to Heroku, which I’ve only used a handful of times but couldn’t have been easier for this project. Heroku has support for environment variables that we can set through their CLI or web console and then access inside of our code. We’ll take out the API key and our password from the code and replace them with calls to Heroku env vars.
  app.use(basicAuth({
    users: {
      'username': process.env.BASIC_AUTH_PW_1
    },
    unauthorizedResponse: getUnauthorizedResponse
  }))

  ...

  oauth2.accessToken = process.env.SOOPER_SEKRET_KEY;
These environment variables are set in under Settings -> Config Vars. process.env is a node command that allows us to access the environment that the node process is running in.
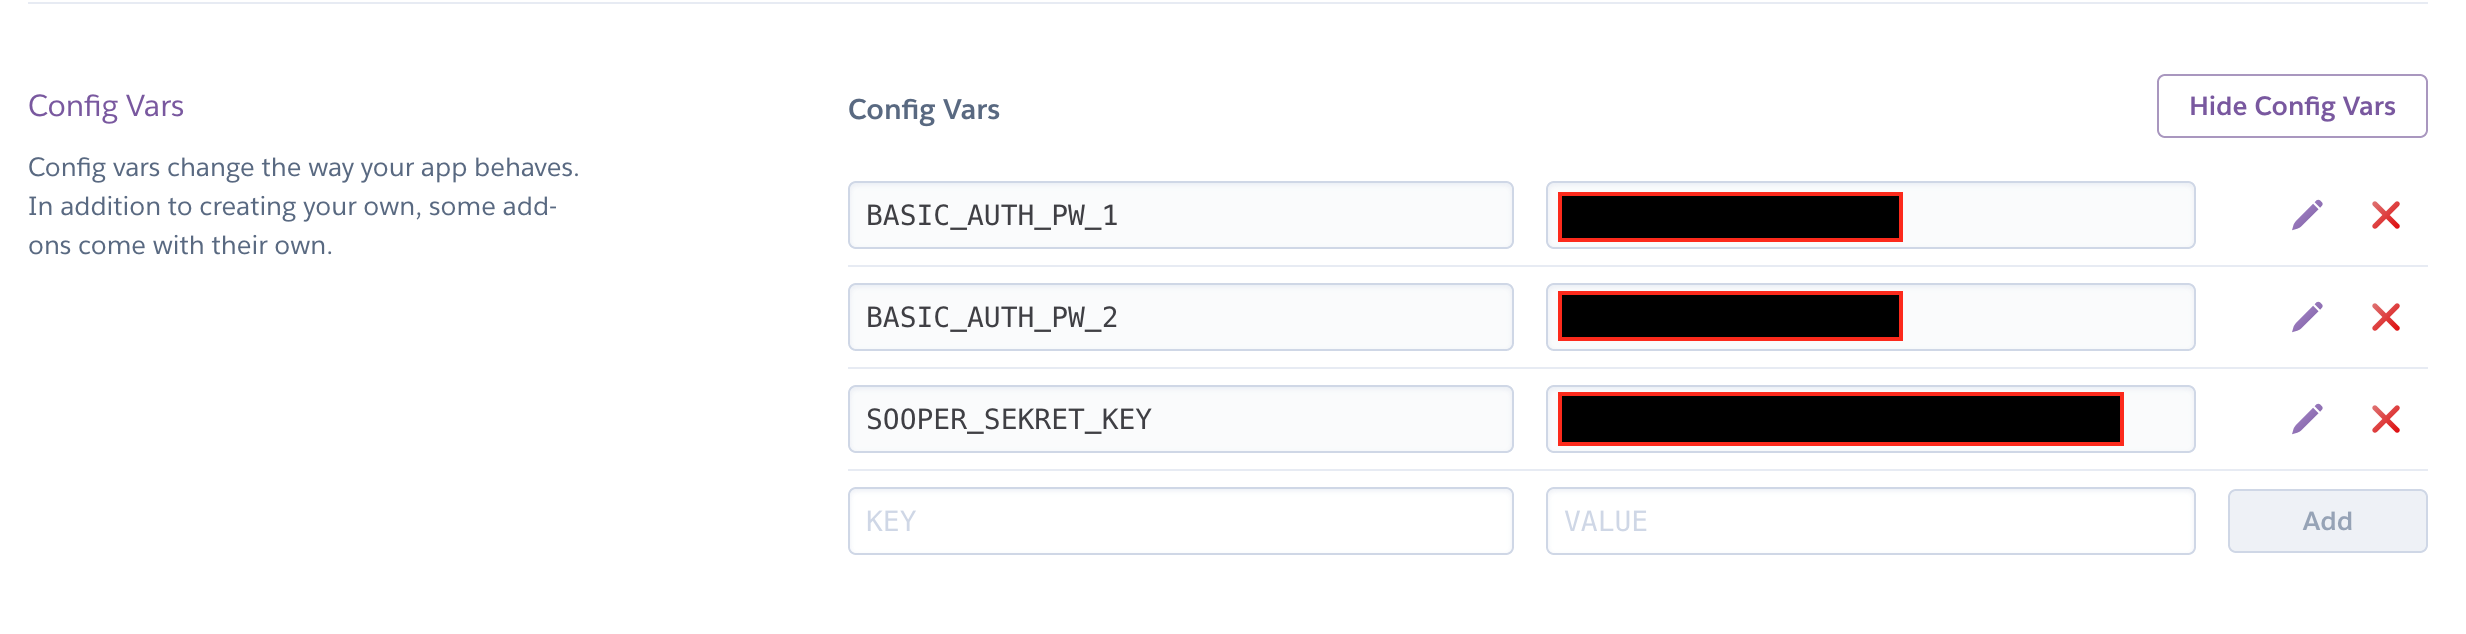 Heroku’s web interface for configuring environment variables
Which brings us to the last thing we need to tweak before uploading the project to Heroku. Heroku throws our node process on one of their Dynamos and exposes the app on a specific port. Since it’s not always going to be the same port, we need to adjust our code to use whatever port Heroku assigns our project to. They expose the port through, wait for it…an environment variable! Let’s adjust our code to listen on the port that Heroku has assigned us:
const port = process.env.PORT || 3000;
This assigns either the port number stored in the environment variable OR 3000 if that isn’t present.
Deploy, boi!
Like I said earlier, I haven’t used Heroku more than a couple of times, but it’s super slick to set up auto deployments. Inside of the project in Heroku, you can connect a github repo and have it rebuild the project on push to master. If you set that up inside of Heroku, all you have to do is commit your code and push it to a Github repo to update the live version in Heroku.
git add -A
git commit -a -m "First commit"
git push origin master
We need to add a few more bells and whistles to deal with the specifics of the app that the student is building, but I’m hoping this simple proxy sever fixes our immediate problem in a little less than 50 lines of code!