tl;dr Getting a super spiffy calendar component working inside an Ionic 2 app
Back story
In one of the apps that I am working on, there is a concept of a calendar. However, up until this point all I have been doing has been displaying the upcoming events in an <ion-list> with infinite-scroll. As nice and simple as that was, it left a lot to be desired as far as UI/UX. So I set out to find a calendar component to add to the app to properly display those upcoming events.
primeng to the rescue
primeng is a collection of open source UI components built for Angular by PrimeTek Informatics. And the components are so good, I wanted to give them direct credit in this post.
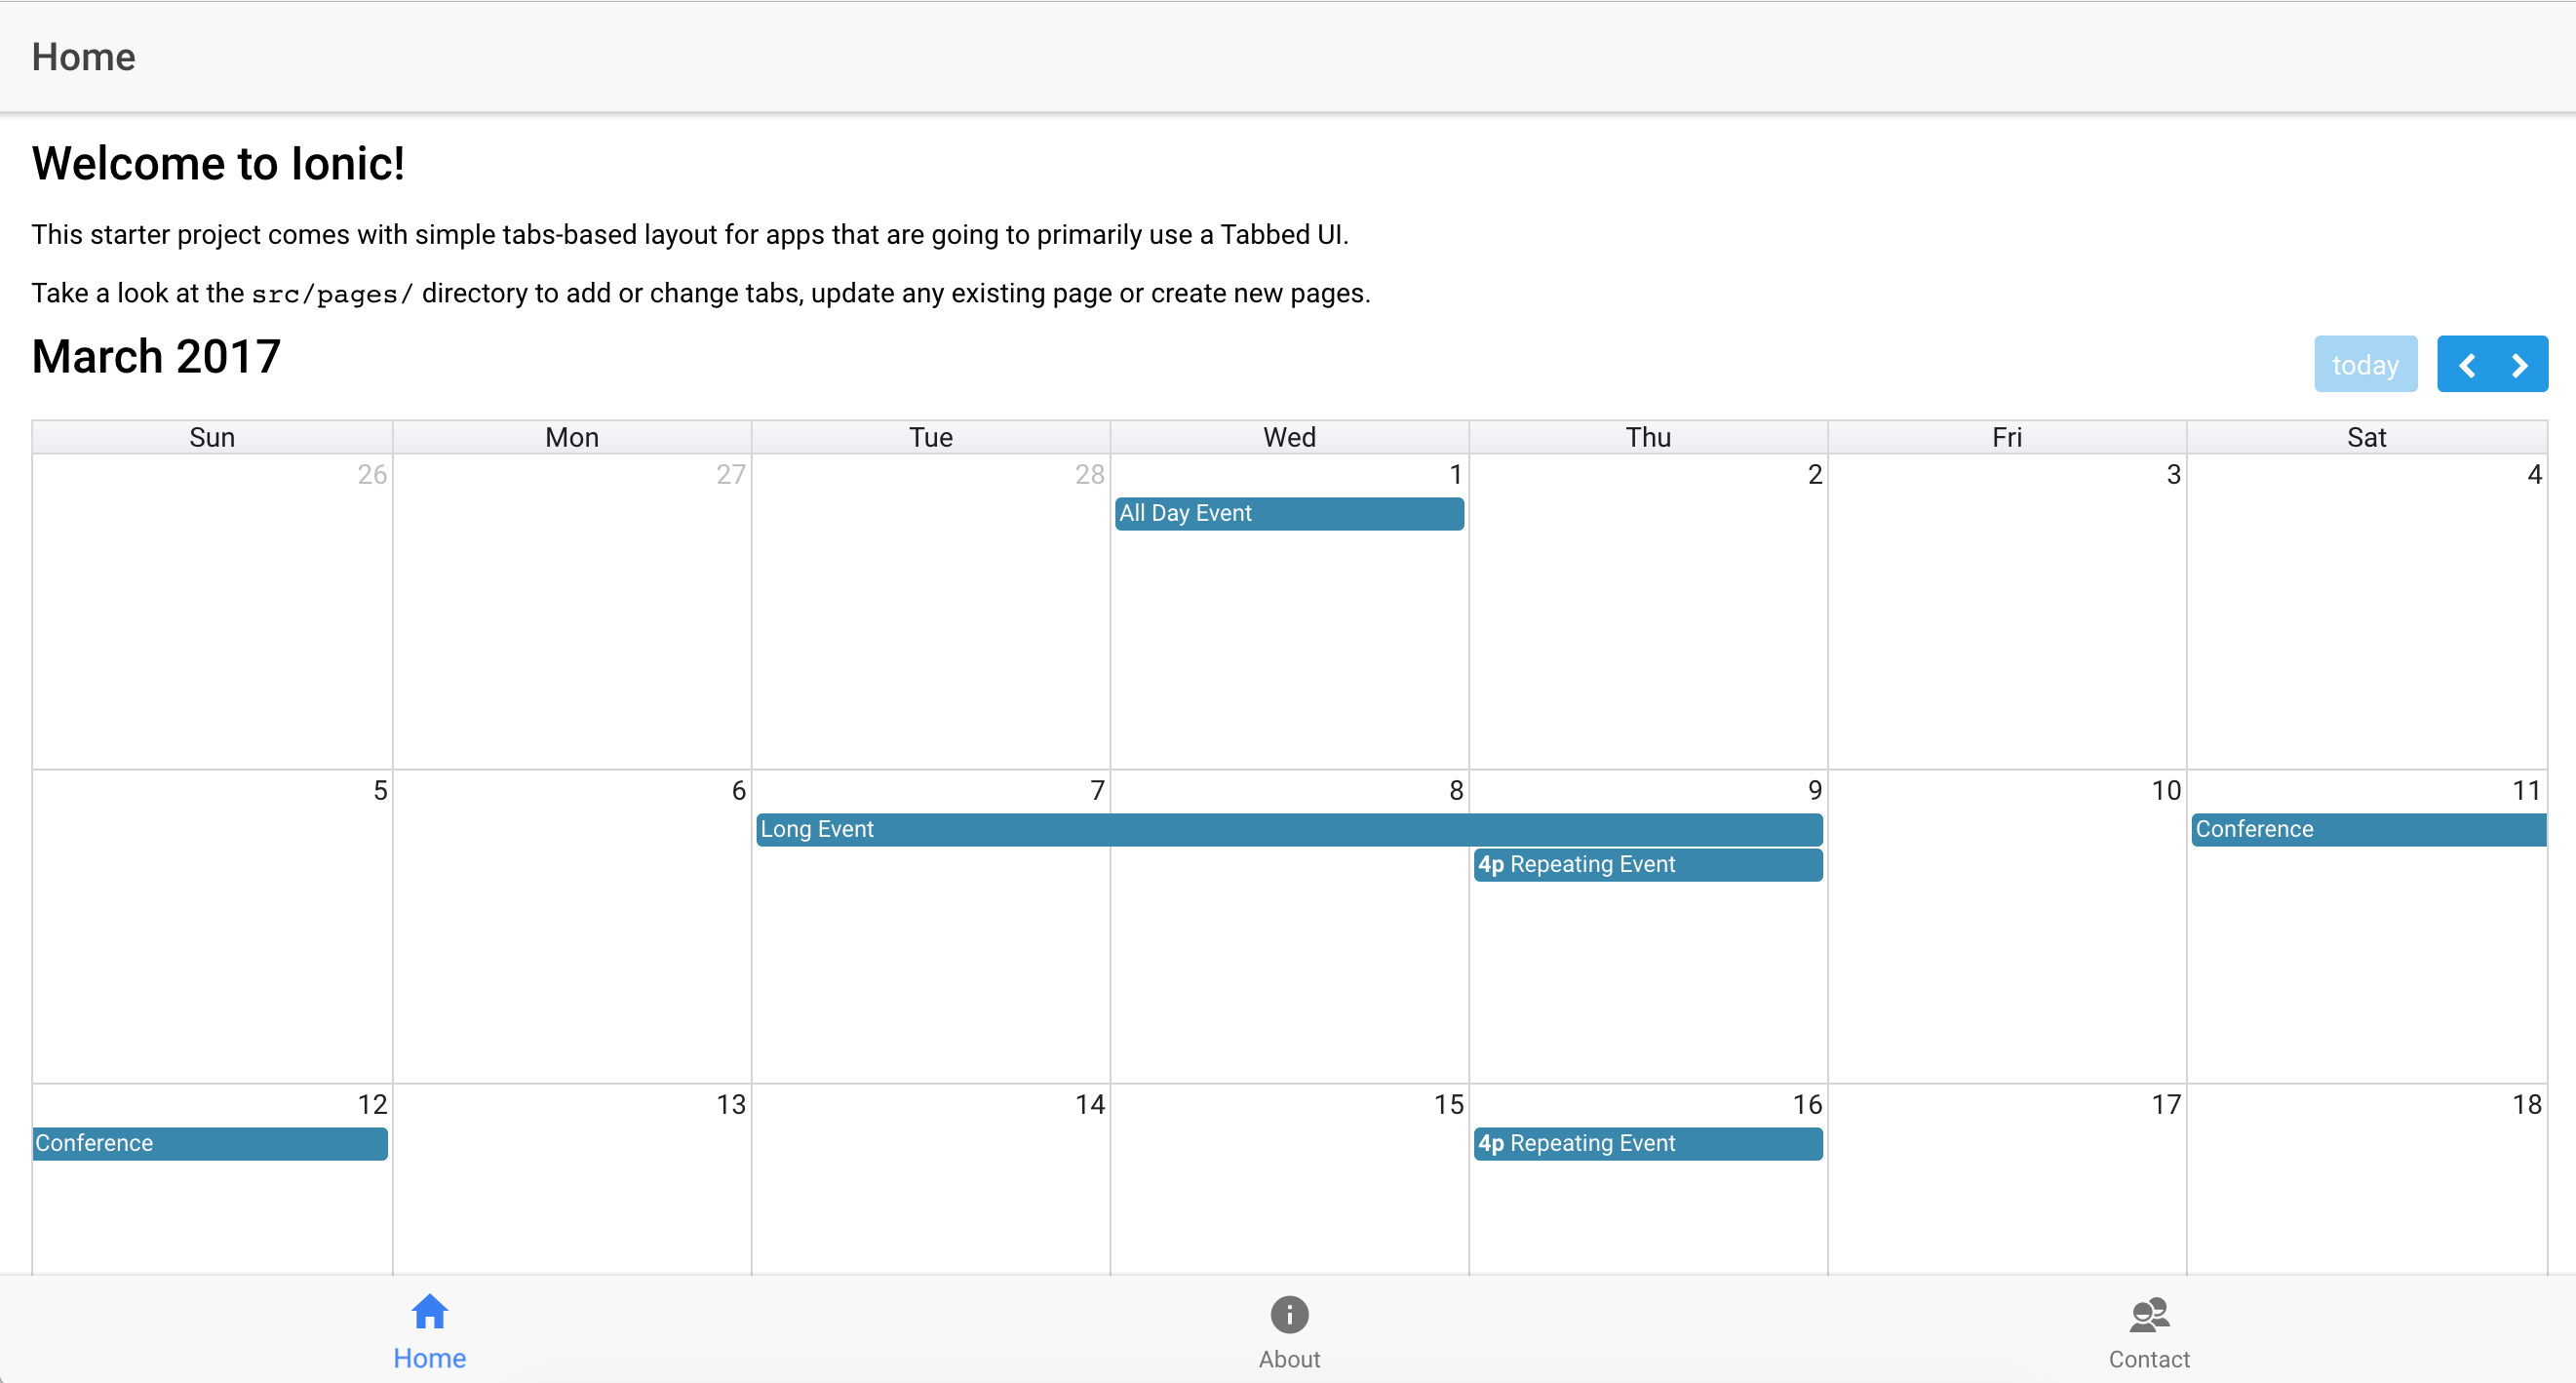
One of the components they offer is a Schedule…which looks and functions just like a calendar. It’s based on the jQuery plugin FullCalendar and has many customization options and hooks to add your own functionality.
Getting it to work was a bit of a trial though, so here are the steps I took. Please be aware, these may not be correct but the end result does work correctly. As always, caveat emptor.
1. Install primeng and font-awesome from NPM
$ npm install primeng --save
$ npm install font-awesome --save
2. Create a custom config file for copying resources
Ionic 2, specificially ionic-app-scripts allows you to override different parts of the build process to customize your workflow. For primeng, we need to include a few CSS and fonts from packages in /node_modules. To do this, we’ll create a copy of the ionic_copy config file and set our app up to use our custom copy instead of the default.
First off, open your package.json file and add the following block to the end of the object:
"config": {
   "ionic_copy": "./config/copy-custom.js"
 }
This tells Ionic to use the file at /config/copy-custom.js when it runs the ionic_copy process. We then we need to create that file.
$ cd /path/to/project
$ mkdir config
The original source file is located in node_modules/@ionic/app-scripts/config/copy.config.js. We’ll copy the contents of that file and put them into our new custom file.
$ cp node_modules/@ionic/app-scripts/config/copy.config.js config/copy-custom.jsThis file contains a bunch of objects that tell Ionic what to grab when you’re building the app (or serving or emulating) and where to put the content in the final build. Also known as the src and dest.
    copyPrimeng: {
      src: ['{{ROOT}}/node_modules/primeng/resources/themes/omega/theme.css', '{{ROOT}}/node_modules/primeng/resources/primeng.min.css', '{{ROOT}}/node_modules/font-awesome/css/font-awesome.min.css'],
      dest: '{{BUILD}}/assets/css'
    },
    copyFontAwesome: {
      src: ["{{ROOT}}/node_modules/font-awesome/fonts/**/*"],
      dest: "{{BUILD}}/assets/fonts"
    }
This tells Ionic to go grab the primeng theme css, base css and the Font Awesome css. The second rule also grabs the font awesome fonts and moves them during the copy as well.
3. Adjust index.html
Now that we’re sure we have the files we need after the build process runs, lets add references to them in out /src/index.html file.
  <link rel="stylesheet" type="text/css" href="build/assets/css/theme.css" />
  <link rel="stylesheet" type="text/css" href="build/assets/css/primeng.min.css" />
  <link rel="stylesheet" type="text/css" href="build/assets/css/font-awesome.min.css" />
  <link rel='stylesheet' href='//cdnjs.cloudflare.com/ajax/libs/fullcalendar/3.0.1/fullcalendar.min.css'>

  ...

  <script src="https://ajax.googleapis.com/ajax/libs/jquery/3.1.1/jquery.min.js"></script>
  <script src="https://cdnjs.cloudflare.com/ajax/libs/moment.js/2.15.2/moment.min.js"></script>
  <script src='//cdnjs.cloudflare.com/ajax/libs/fullcalendar/3.0.1/fullcalendar.min.js'></script>
The CSS files are everything we just took care of with the custom build file. The javascript files are the primeng dependencies (this has some code smell though, I feel like there should be a better way to get jQuery and moment into the app than using script tags, but this works, so :shrug:)
4. Import ScheduleModule into app
Primeng has a BUNCH of modules. I was really only looking for the calendar specifically, so it made sense for me to just import that component. Otherwise, I get a bunch of errors about missing dependencies.
Go to /src/app/app.module.ts and add the follwing line to the top of the page: import { ScheduleModule } from 'primeng/components/schedule/schedule';
Then, add it to the imports array in the @NgModule like this:
imports: [
    IonicModule.forRoot(MyApp),
    ScheduleModule
  ]
5. Add Schedule code to page
Now that all the setup is done, we can go to any page and follow the instructions on the primeng site for setting up the calendar.
This goes in the HTML page: <p-schedule [events]="events"></p-schedule>
And this would go in your ts page:
export class HomePage {

  events: any[];

  ngOnInit() {
    this.events = [
      {
        "title": "All Day Event",
        "start": "2017-03-01"
      },
      {
        "title": "Long Event",
        "start": "2017-03-07",
        "end": "2017-03-10"
      },
      {
        "title": "Repeating Event",
        "start": "2017-03-09T16:00:00"
      },
      {
        "title": "Repeating Event",
        "start": "2017-03-16T16:00:00"
      },
      {
        "title": "Conference",
        "start": "2017-03-11",
        "end": "2017-03-13"
      }
    ];
  }
}
If all goes well, you should see something like this:

